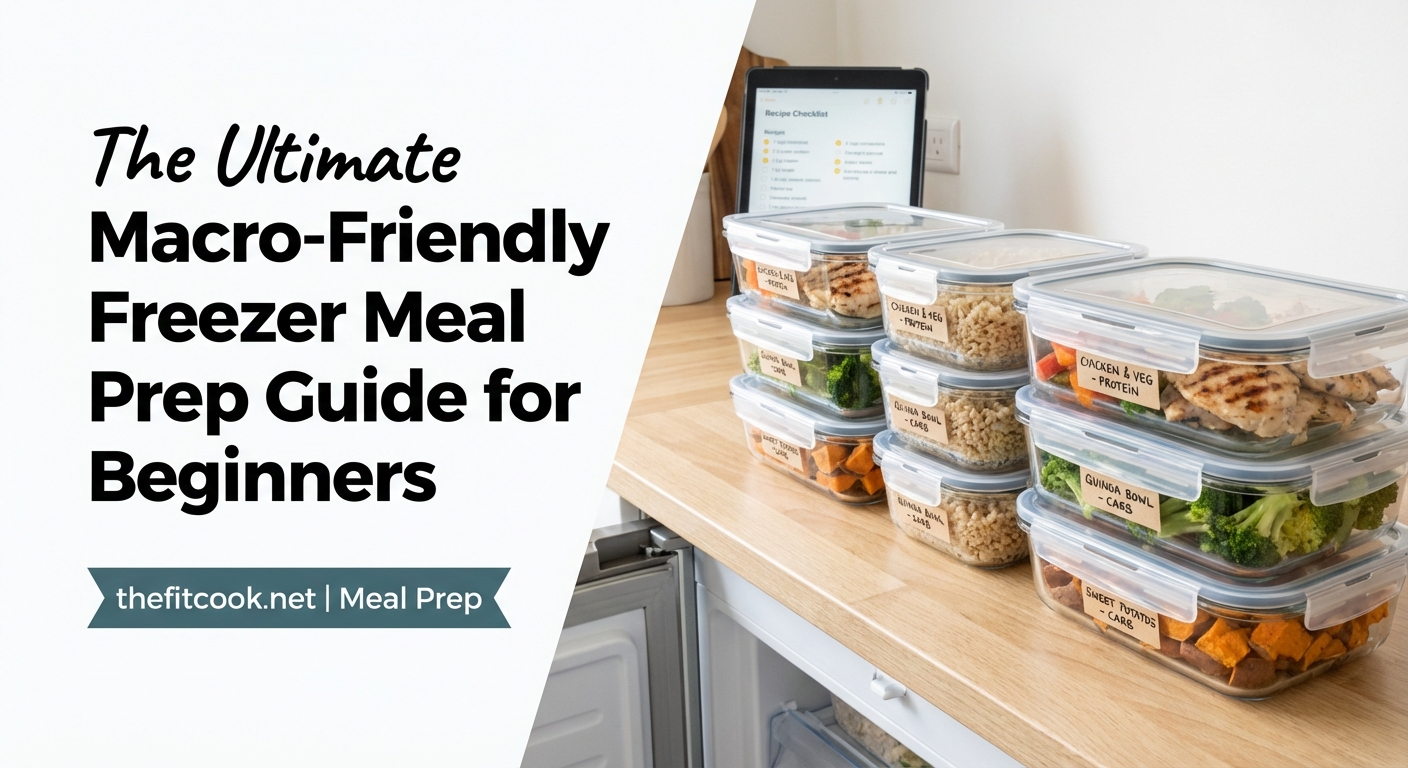
The Ultimate Macro-Friendly Freezer Meal Prep Guide for Beginners
Tracking macros keeps your nutrition on point, but cooking every single meal from scratch can drain your energy and time. Freezer meal prep solves this problem by letting you cook once and eat multiple times without sacrificing your protein, carb, or fat targets. You can batch cook on Sunday, freeze portioned meals, and pull them out whenever you need a balanced plate ready in minutes.
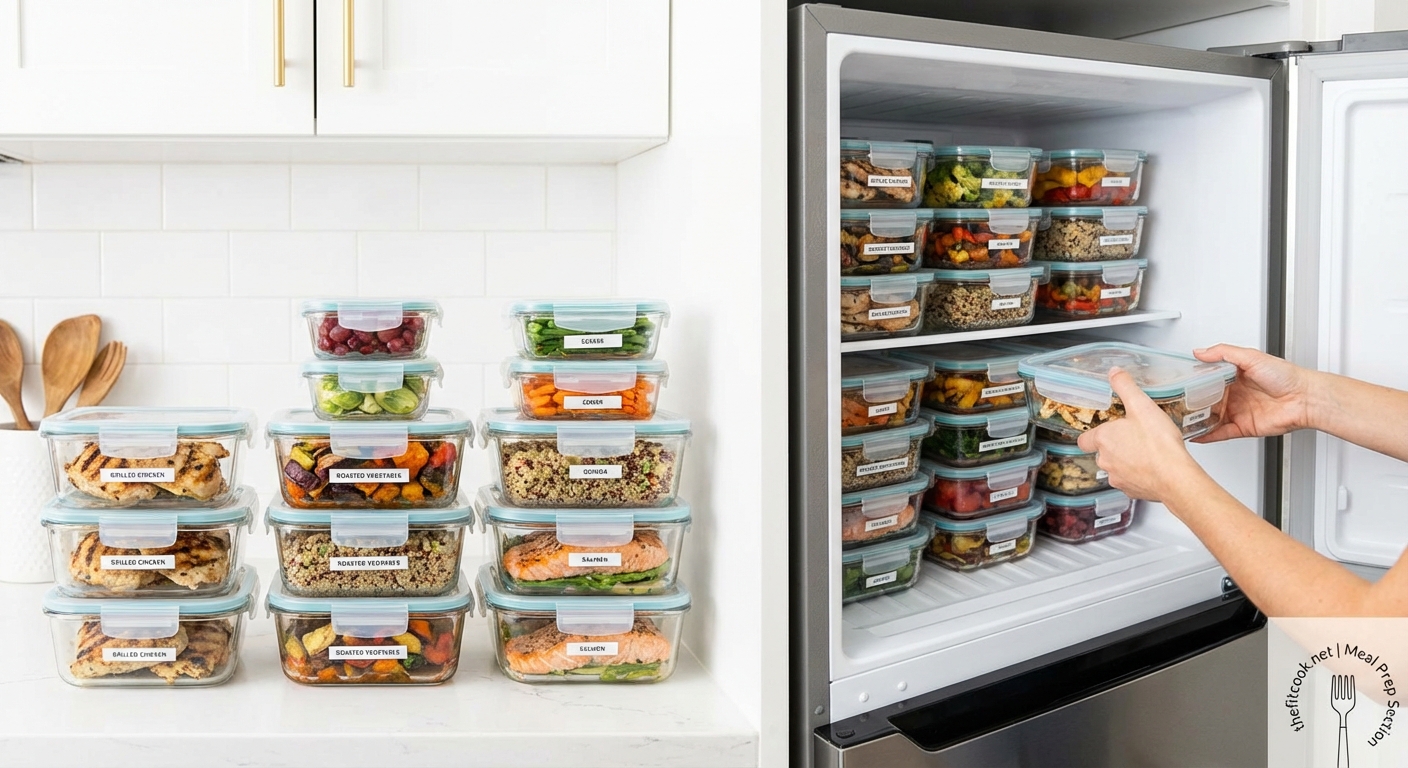
Macro friendly freezer meal prep helps you batch cook balanced meals, portion them accurately, and freeze them for later use. This method saves time during busy weeks, prevents last-minute takeout, and keeps your nutrition goals on track. With proper containers, labeling, and reheating techniques, you can enjoy fresh-tasting meals that match your exact macro targets without daily cooking.
Why Freezer Meal Prep Works for Macro Tracking
Most people who track macros spend hours each week cooking individual meals. That approach works until life gets busy. A packed work schedule, evening workouts, or family obligations make it hard to cook every night.
Freezer meal prep flips the script. You dedicate a few hours one day to cook multiple meals, then store them in the freezer. Each meal gets portioned according to your macro targets, so you always know exactly what you’re eating.
This method also reduces food waste. When you buy ingredients in bulk and prep everything at once, nothing sits in the fridge until it spoils. You use what you buy, and every meal has a purpose.
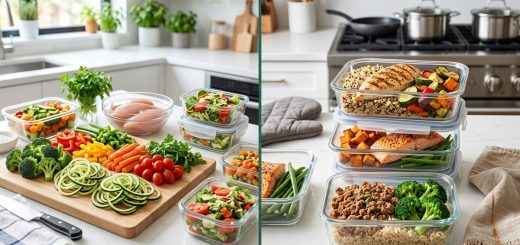
What Makes a Meal Freezer Friendly
Not every recipe freezes well. Some ingredients lose texture or flavor after thawing. Others become watery or mushy.
The best freezer meals include these components:
- Lean proteins like chicken breast, ground turkey, or white fish
- Complex carbs such as rice, quinoa, or sweet potatoes
- Vegetables that hold up well, including broccoli, bell peppers, and green beans
- Minimal dairy or cream-based sauces that can separate when frozen
Avoid meals with high water content vegetables like lettuce, cucumber, or raw tomatoes. These turn soggy after freezing. Also skip recipes with crispy coatings or fried elements, as they lose their crunch.
Casseroles, stir fries, and bowl-style meals freeze beautifully. So do marinated proteins, cooked grains, and roasted vegetables when stored separately.
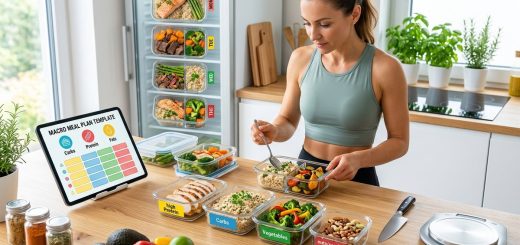
How to Calculate Macros Before You Prep
Accurate macro tracking starts before you cook. You need to know the exact amounts of protein, carbs, and fats in each meal.
- Choose your recipes and list every ingredient with its weight in grams.
- Use a nutrition tracking app to calculate the total macros for the entire batch.
- Divide the total by the number of portions you plan to make.
- Adjust ingredient amounts if the macros don’t match your targets.
For example, if your batch of chicken and rice totals 150g protein, 300g carbs, and 50g fat across six meals, each portion contains 25g protein, 50g carbs, and 8g fat. If you need more protein, add extra chicken. If carbs are too high, reduce the rice.
Weigh everything raw before cooking. Cooked weights vary based on water loss, which makes raw measurements more reliable.
Essential Tools for Macro Friendly Freezer Prep
The right equipment makes freezer meal prep faster and more accurate. You don’t need fancy gadgets, but a few key items help.
A digital food scale is non-negotiable. Eyeballing portions throws off your macros. Weighing each container ensures consistency.
Airtight containers prevent freezer burn and keep meals fresh. Glass containers work well but take up more space. BPA-free plastic containers stack easily and weigh less.
Freezer bags save space and work great for marinated proteins or soups. Squeeze out all the air before sealing to maintain quality.
Labels and a permanent marker help you track what’s inside each container and when you made it. Include the meal name, date, and macros on every label.
A slow cooker or Instant Pot speeds up batch cooking. You can cook large amounts of protein or grains without constant monitoring.
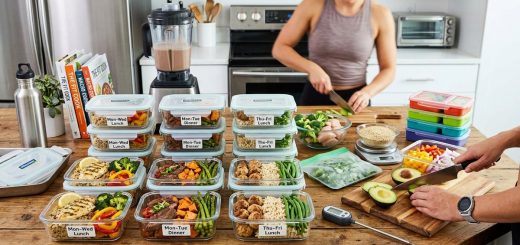
Step by Step Freezer Meal Prep Process
Start by choosing four to six recipes that freeze well and fit your macro targets. Pick meals with overlapping ingredients to simplify shopping.
Create a detailed grocery list organized by store section. Buy everything in one trip to save time.
Set aside three to four hours for prep and cooking. Clear your kitchen counters and lay out all your tools.
- Wash and chop all vegetables first.
- Cook proteins in batches using your oven, stovetop, or slow cooker.
- Prepare grains and starches while proteins cook.
- Assemble meals in containers, weighing each portion as you go.
- Let everything cool to room temperature before sealing.
- Label each container with the meal name, date, and macros.
- Freeze meals in a single layer until solid, then stack them to save space.
Cooling meals before freezing prevents condensation, which causes ice crystals and freezer burn. Patience here pays off in meal quality later.
Best Foods to Freeze for Balanced Macros
Some ingredients freeze better than others. Focus on these staples for consistent results.
Proteins:
– Chicken breast (grilled, baked, or shredded)
– Ground turkey or lean beef
– White fish fillets
– Tofu (pressed and cooked)
– Egg muffins or frittatas
Carbs:
– Brown rice
– Quinoa
– Sweet potatoes (cubed or mashed)
– Whole wheat pasta (slightly undercooked)
– Oats (in baked goods or overnight oat portions)
Fats:
– Avocado (frozen in portions for smoothies)
– Nuts and seeds (in measured amounts)
– Olive oil (used in cooking before freezing)
Vegetables:
– Broccoli
– Cauliflower
– Bell peppers
– Spinach (cooked)
– Green beans
– Zucchini (cooked, not raw)
| Food Type | Freezes Well | Avoid Freezing |
|---|---|---|
| Proteins | Cooked chicken, ground meats, fish | Fried or breaded items |
| Carbs | Rice, quinoa, sweet potatoes | Pasta salads, raw potatoes |
| Vegetables | Cooked broccoli, peppers, spinach | Lettuce, cucumbers, raw tomatoes |
| Dairy | Hard cheeses, butter | Sour cream, yogurt, cream cheese |
How to Portion Meals for Accurate Tracking
Portioning determines whether your meal prep succeeds or fails. Inconsistent portions mean inconsistent macros.
Use your food scale to weigh each component separately. Place your container on the scale, zero it out, then add your protein. Zero again, add your carbs. Repeat for fats and vegetables.
This method gives you precise control. If you need 6 ounces of chicken, 150 grams of rice, and 100 grams of broccoli, you’ll hit those numbers exactly.
For mixed dishes like casseroles or chili, calculate the total macros for the entire batch, then divide by the number of portions. Weigh the full dish, divide that weight by your portion count, and scoop out equal amounts.
Store each portion in its own container. Avoid freezing large batches that require portioning after thawing, as this adds extra work and reduces accuracy.
Preventing Freezer Burn and Maintaining Quality
Freezer burn happens when air reaches your food. It creates dry, discolored spots that taste off.
Prevent it by removing as much air as possible from containers and bags. Press plastic wrap directly onto the surface of soups or sauces before sealing the lid.
Leave a small amount of headspace in containers with liquids, as they expand when frozen. Too much liquid in a sealed container can crack the lid or container.
Store meals at 0°F or below. Fluctuating temperatures cause ice crystals and degrade quality.
Use meals within three months for best taste and texture. While frozen food stays safe indefinitely at proper temperatures, quality declines over time.
“Proper storage makes the difference between a meal that tastes fresh and one that tastes like the freezer. Invest in quality containers and take an extra minute to remove air. Your future self will thank you.”
Reheating Without Ruining Your Macros
Reheating frozen meals correctly preserves both flavor and nutrition. Poor reheating methods can dry out proteins or make vegetables mushy.
Thaw meals in the refrigerator overnight for best results. This gentle method maintains texture better than microwave defrosting.
For microwave reheating, use 50% power and stir halfway through. High heat creates hot spots and overcooks edges while leaving the center cold.
Oven reheating works well for casseroles and baked dishes. Cover with foil to prevent drying, and heat at 350°F until warmed through.
Stovetop reheating suits stir fries and skillet meals. Add a splash of water or broth to prevent sticking.
Avoid reheating the same meal multiple times. Repeated temperature changes increase bacterial growth and degrade quality.
Common Freezer Meal Prep Mistakes to Avoid
Even experienced meal preppers make errors that waste time or ruin meals. Avoid these common pitfalls.
Overfilling containers leaves no room for expansion. Liquids need space to freeze without cracking the container.
Freezing warm food raises the freezer temperature and affects other stored items. Always cool meals to room temperature first.
Skipping labels creates mystery meals. You won’t remember what’s in each container or when you made it.
Using the wrong containers leads to freezer burn or broken lids. Invest in containers designed for freezing.
Cooking pasta fully before freezing makes it mushy when reheated. Undercook by two minutes, then finish cooking when you reheat.
Ignoring portion sizes defeats the purpose of macro tracking. Weigh everything for accuracy.
| Mistake | Why It Matters | How to Fix It |
|---|---|---|
| Overfilling containers | Causes leaks and broken lids | Leave 1 inch headspace for liquids |
| Freezing hot food | Raises freezer temp, affects other food | Cool to room temperature first |
| No labels | Can’t identify meals or track age | Label with name, date, and macros |
| Wrong containers | Causes freezer burn | Use airtight, freezer-safe containers |
Sample Meal Prep Day Schedule
Planning your prep day prevents chaos and keeps you on track. Here’s a sample timeline for preparing six different meals with four portions each.
9:00 AM: Review recipes and lay out all ingredients and tools.
9:30 AM: Start cooking proteins in the oven and slow cooker.
10:00 AM: While proteins cook, wash and chop all vegetables.
10:30 AM: Cook rice, quinoa, or other grains.
11:00 AM: Sauté vegetables and prepare any sauces.
11:30 AM: Begin assembling meals in containers, weighing each portion.
12:30 PM: Label all containers with meal names, dates, and macros.
1:00 PM: Let meals cool while you clean up.
2:00 PM: Transfer cooled meals to the freezer.
This schedule assumes moderate cooking skills and efficient multitasking. Adjust timing based on your experience level and chosen recipes.
Adapting Recipes for Freezer Storage
Most recipes can be modified to freeze better. Small adjustments make a big difference in post-thaw quality.
Reduce liquid by 25% in soups and stews. Freezing and thawing releases moisture from vegetables, which dilutes the dish.
Undercook vegetables slightly. They’ll finish cooking when you reheat, preventing mushiness.
Add fresh herbs and delicate seasonings after reheating. Freezing dulls their flavor.
Use less salt than normal. Saltiness intensifies during freezing, so start conservative and adjust when serving.
Skip crispy toppings until serving time. Add breadcrumbs, fried onions, or crushed chips after reheating.
For casseroles, assemble but don’t bake. Freeze unbaked, then bake from frozen when ready to eat. This preserves texture better than baking twice.
Building a Rotation That Prevents Boredom
Eating the same meals every week gets old fast. Create variety without extra work by building a rotation system.
Choose 12 to 15 recipes that fit your macros and freeze well. Prep four different meals each week, making multiple portions of each.
Rotate through your recipe list so you’re not eating the same thing more than once every three weeks. This keeps meals interesting without requiring constant recipe hunting.
Mix up your protein sources. Don’t prep all chicken meals. Include turkey, fish, and plant-based options.
Vary your cooking methods. If you grill chicken one week, try baking or slow cooking it the next.
Change your flavor profiles. Rotate between Asian-inspired, Mexican, Italian, and Mediterranean themes.
Keep a running list of meals you’ve prepped and their dates. This helps you track what’s in your freezer and plan future prep sessions.
Scaling Up or Down Based on Your Needs
Not everyone needs the same number of meals. Scale your prep based on your lifestyle.
If you eat out for lunch but want prepped dinners, make seven portions per recipe instead of 14.
Solo meal preppers can make smaller batches or freeze individual components to mix and match later.
Families need larger quantities but can use the same process. Just multiply ingredient amounts and portion sizes.
Athletes with higher calorie needs should increase portion sizes while maintaining macro ratios. Weigh larger amounts of each component but keep the proportions consistent.
People cutting weight can prep smaller portions with the same macro balance. The process stays the same, just with less food per container.
Your Freezer Is Your Macro Tracking Secret Weapon
Freezer meal prep transforms macro tracking from a daily chore into a manageable weekly task. You cook once, portion accurately, and have balanced meals ready whenever you need them. No more scrambling to hit your numbers at the end of the day or settling for subpar takeout because you’re too tired to cook. With proper planning, quality containers, and smart reheating methods, your freezer becomes a reliable tool that supports your fitness goals without taking over your life. Start with one prep day this week and see how much time and stress it saves.